
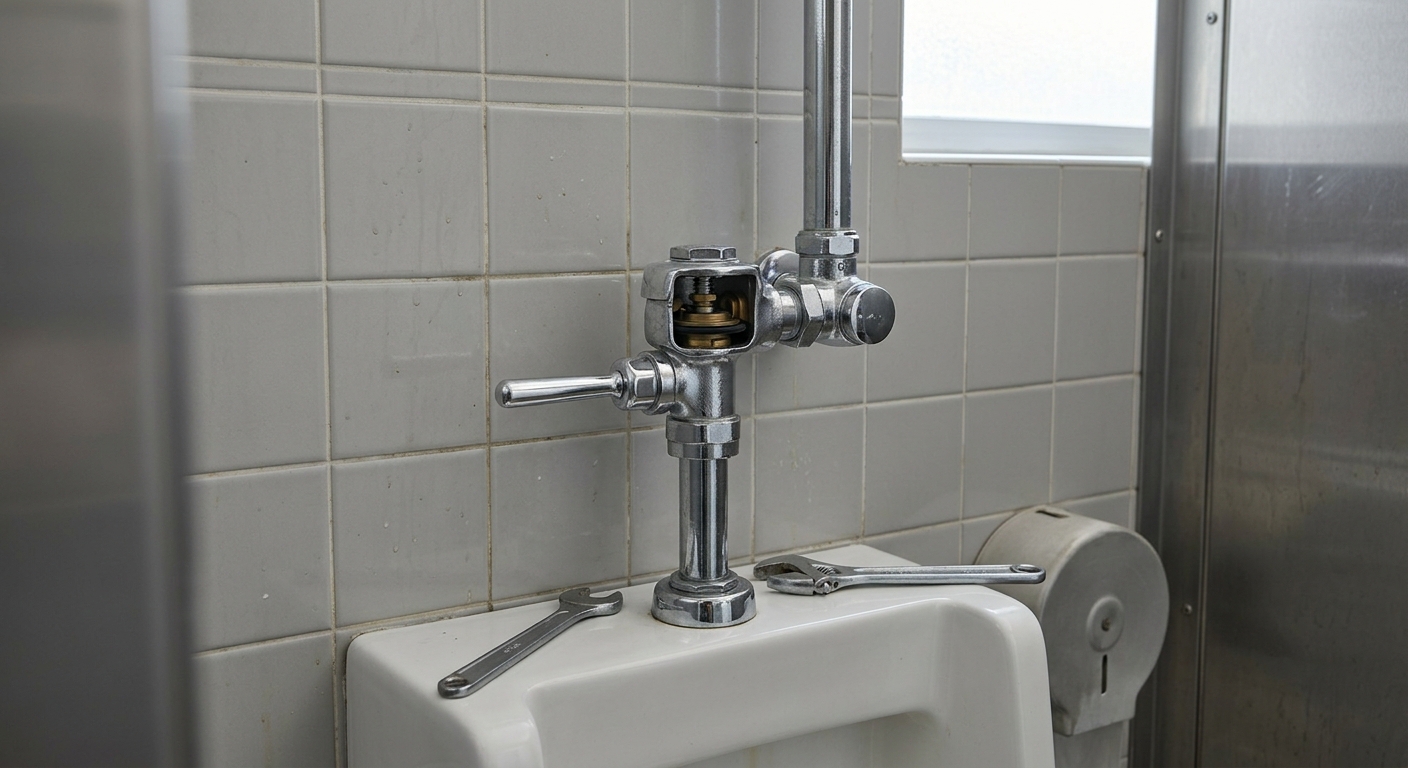
A flushometer handle that moves freely but produces no water almost always means the manual override arm has disengaged from the relay or piston assembly, not that the supply line has lost pressure. On sensor-operated valves, the handle or push-button is a mechanical bypass wired around the solenoid, and when that linkage wears or the internal diaphragm is stuck, the handle can travel through its full arc without ever unseating the valve. This is a different failure mode than a manual flush valve going bad, and it needs a different diagnostic sequence.
Manual Override vs Sensor Trigger Paths
Sensor flushometers actuate two ways: an infrared sensor that fires the solenoid, and a manual override (handle, push-button, or wave sensor) that mechanically or electronically forces the same relay to open. On most commercial units built to ASSE 1037, the manual path is supposed to work even if the electronics fail completely, since ASSE 1037 covers both the flush volume and the mechanical reliability of that override under code-required conditions.
The problem is that “mechanical override” doesn’t mean “direct plumbing connection.” The handle typically actuates a small plunger or lever that trips the same diaphragm guts as the solenoid does. If that plunger is gummed up, misaligned, or the diaphragm’s relief valve is fouled, the handle moves but the diaphragm never lifts off its seat. No water moves because nothing downstream of the handle actually opened.
Diaphragm and Piston Failure Points
Diaphragm and piston-style flush valves fail in predictable ways, and a stuck or torn diaphragm is the single most common reason a handle spins freely. Grit in the supply water lodges in the diaphragm’s bypass orifice, the rubber degrades and loses its seal, or mineral buildup binds the piston in its bore. In every one of these cases, the handle or override linkage completes its mechanical travel, but the diaphragm assembly it’s supposed to lift stays seated.
This is why diaphragm kit replacement is the correct first troubleshooting step, before checking wiring, before swapping a solenoid, before assuming a supply problem. Kits are inexpensive relative to a service call and take under fifteen minutes on most models once the supply is isolated. If a fresh diaphragm kit restores flush function, you’ve solved it. If the handle still moves with no result, the fault is mechanical linkage or electronic, not the diaphragm.
- Handle travels normally, no flush, valve is old or has high cycle count: replace diaphragm kit first.
- Diaphragm kit installed, still no flush: inspect override plunger alignment and relief valve orifice for debris.
- Sensor triggers flush normally but manual override does nothing: the override linkage itself has failed independent of the diaphragm.
- Neither sensor nor manual override triggers a flush: move to solenoid and wiring checks.
Checking Solenoid Voltage and Wiring
If the diaphragm kit is confirmed good and the override still fails to produce a flush, check the solenoid. Sensor flushometers run on either 6V DC (battery-powered units) or 24V AC (hardwired or transformer-fed units), and a solenoid outside that spec range simply won’t fire regardless of how many times the handle is cycled.
Use a multimeter at the solenoid leads while triggering the manual override. If you’re reading voltage at spec and the solenoid still doesn’t click or lift, the solenoid coil itself has failed and needs replacement, not the whole valve body. If you’re getting no voltage at all, trace back to the battery pack or transformer before assuming the solenoid is bad. On battery units, weak batteries are a frequent and cheap cause of intermittent phantom flushing complaints as well as override failures, since the sensor logic and the override relay often draw from the same depleted power source.
| Symptom | Likely Cause | Action |
|---|---|---|
| Handle moves, no flush, valve is 3+ years old | Worn diaphragm | Replace diaphragm kit |
| No flush from sensor or override | Dead battery or transformer fault | Test voltage, replace power source |
| Correct voltage at solenoid, no actuation | Failed solenoid coil | Replace solenoid assembly |
| Flush volume looks low but valve fires | Wrong gpf rating installed for fixture | Verify 1.6 gpf vs 1.28 gpf spec match |
Isolation Valve and Supply Stops
Before opening any flush valve for internal work, confirm the isolation stop under or behind the valve is fully open, not just assumed open. A stop that was partially closed during unrelated plumbing work upstream, say for shower valves and trim replacement on a shared branch line, can starve a flushometer enough that the handle travels but there isn’t enough supply pressure to complete the flush cycle. This is worth ruling out early because it takes thirty seconds and eliminates an entire category of false leads.
Once you’ve confirmed full supply pressure at the stop, and the diaphragm kit and solenoid have both tested fine, the remaining suspects are the override linkage itself or a piston that’s mechanically seized in its bore from mineral scale. Both require the valve body to come apart, and at that point you’re deciding between a full rebuild and a retrofit.
When to Swap a Retrofit Kit
Retrofit kits make sense when the valve body is sound but the internals are outdated, particularly on older 1.6 gpf valves being brought down to the EPA WaterSense 1.28 gpf threshold. A retrofit kit swaps the diaphragm, relief valve, and sometimes the solenoid assembly to hit the lower flush volume without replacing the entire flushometer body, which is the cheaper path on a large multi-fixture property. Confirm the retrofit kit is rated for the same ASSE 1037 classification as the original valve so flush performance and code compliance carry over.
Retrofit kits are not the answer if the failure is in the sensor board, the battery housing, or the manual override handle assembly itself. Those are separate parts, and installing a diaphragm retrofit kit won’t fix a broken handle linkage. Match the failed component to the correct replacement part rather than defaulting to a full kit every time, since that’s how maintenance budgets get eaten up on parts that weren’t actually bad.
Also watch for phantom flushing as a companion symptom on the same fixture. Sensors set too sensitive, or battery voltage sagging under load, can trigger unwanted flushes even while the manual override struggles to trigger a wanted one. If you’re chasing both complaints on the same valve, check power supply and sensor range settings before you conclude you have two unrelated problems.
What to Check Next
Start with the diaphragm kit. It’s the cheapest part, the fastest swap, and the most common point of failure on a handle that moves without result. If that doesn’t resolve it, confirm supply is fully open at the isolation stop, then test solenoid voltage against the 6V DC or 24V AC spec for your unit. Document which component failed on each service call. On a building with more than a handful of flushometers, that log tells you whether you’re dealing with isolated wear or a batch of valves approaching end of service life together, which changes whether the next call is a parts order or a capital replacement conversation.