
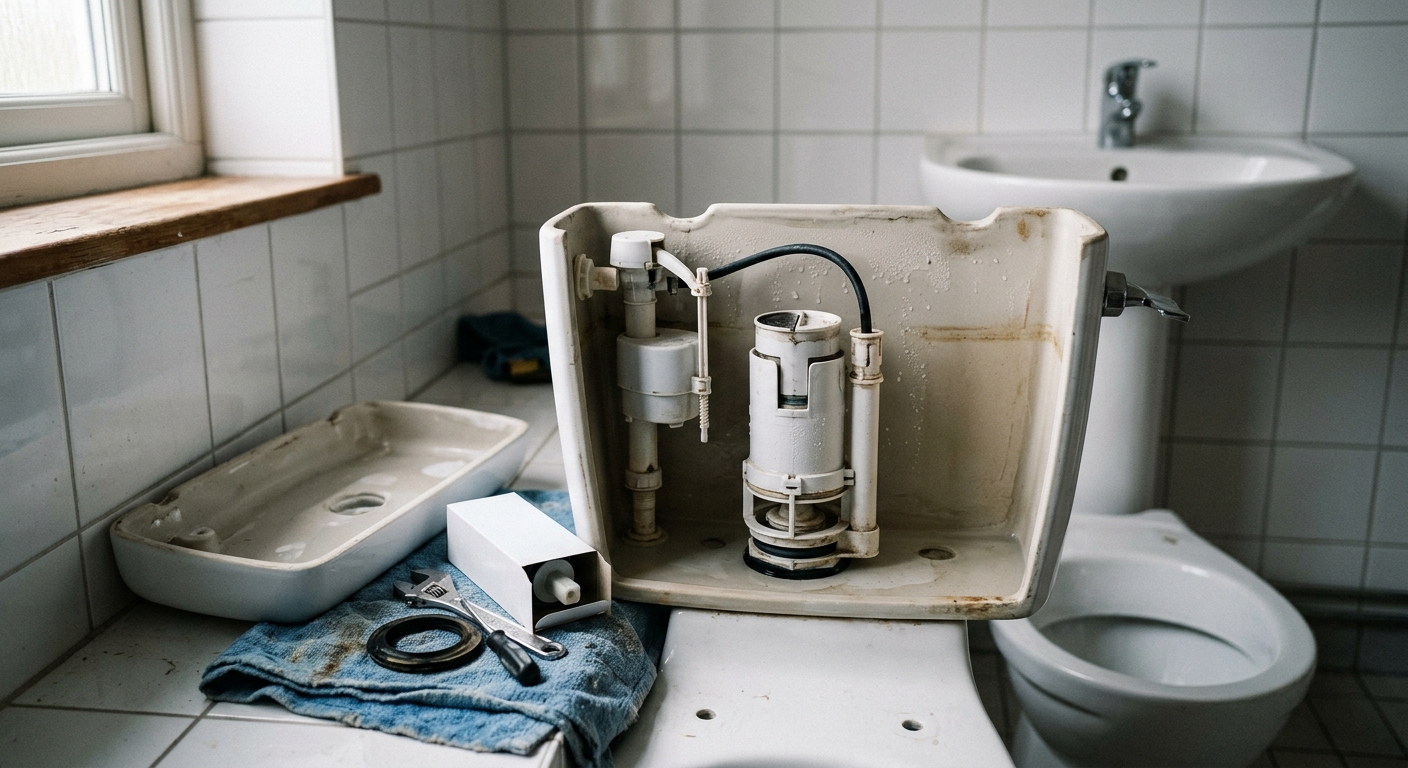
A flushometer that keeps dripping after a cartridge or diaphragm module swap is almost never a defective part problem. It’s a diagnostic sequencing problem. The cartridge controls the flush cycle, but the seal that actually stops water flow between flushes sits on the diaphragm and its seat, and if that seat is scored, pitted, or sitting under a sensor solenoid that’s bleeding voltage, a new cartridge will not touch the leak.
Why Cartridge Swaps Don’t Stop All Drips
A flushometer has two jobs: meter a fixed volume of water per cycle, and seal completely between cycles. The cartridge (piston-style) or the diaphragm module (diaphragm-style) handles the metering and relay function. But the actual shutoff happens at a rubber or synthetic diaphragm seat pressing against a machined orifice in the valve body. Swap the internal cartridge and you’ve replaced the part that decides when to open the valve. You haven’t touched the part that decides whether it closes fully.
This is why techs report “I replaced the diaphragm kit and it still weeps.” In most cases the kit refreshed the moving parts but the seat itself, or the downstream control components, were the actual fault.
Diaphragm and Seat Wear vs. Cartridge Failure
Piston-style valves and diaphragm-style valves fail differently, and knowing which one you’re servicing changes where you look next.
- Diaphragm-style valves: the rubber diaphragm seats against a raised ring in the valve body. Mineral scale, grit in the supply line, or simple elastomer aging will groove that seat over time. A new diaphragm pressed against a grooved seat will still leak, just more slowly than before.
- Piston-style valves: rely on tighter machined tolerances between the piston and cylinder wall. Wear here shows up as a slow trickle rather than a sudden gush, and it’s often mistaken for a cartridge defect when it’s actually cylinder wall wear or a scratched piston face from debris.
Field rule: if you’ve replaced the internal kit twice in under a year and the drip persists or returns quickly, stop replacing the same part and inspect the seat surface with a flashlight and a fingernail test for grooving. If you can feel a ridge, the seat needs resurfacing or the valve body needs replacement, not another kit.
Sensor Range and Solenoid Bleed-Through
On sensor-operated flushometers, a persistent drip can originate electrically rather than mechanically. The solenoid pilot that triggers the diaphragm can develop bleed-through when the seal around the plunger degrades, allowing a small continuous flow even when the sensor isn’t triggering a full cycle. This presents exactly like a mechanical diaphragm leak, which is why it gets misdiagnosed as a cartridge problem.
Sensor range itself is worth checking as a separate variable. Most commercial sensor flushometers are specified for a detection range around 6 to 42 inches, adjustable within that band for the fixture and installation depth. If the range is set too aggressively, the unit can pick up passing shadows, adjacent stall activity, or reflective clothing and fire partial or phantom cycles. These aren’t leaks in the strict sense, but they show up on water bills identically to a slow drip, and maintenance staff sometimes chase a mechanical fix for what is actually a sensor calibration issue.
Isolate the two by covering the sensor eye and observing whether the drip continues. If it stops, the fault is electrical or sensor-related. If it continues, you’re back to a mechanical seat or diaphragm problem.
Supply Pressure and Water Hammer Effects
Flushometers are designed to operate within a supply pressure range of roughly 20 to 80 psi. Outside that range, or with pressure spikes from water hammer, diaphragms and seats take accelerated wear even when installed correctly. A valve rated and installed correctly can still fail early on a system with unaddressed water hammer, because the repeated pressure surge fatigues the diaphragm faster than normal duty cycles would.
If a building has multiple flushometers failing on a similar timeline, particularly on the same branch line, check the static and dynamic pressure at that line before you keep swapping internals fixture by fixture. A pressure-reducing valve out of calibration, or a missing water hammer arrestor upstream, will keep generating the same failure across every flushometer on that run.
Step-by-Step Leak Isolation Sequence
Work through this order before condemning the valve or ordering a full replacement:
- Shut the supply stop and confirm the drip stops at the stop, not downstream. This confirms the leak is inside the flushometer, not a fixture or supply line issue elsewhere.
- Inspect the diaphragm or piston kit for correct seating and orientation. Incorrect reassembly after a “successful” cartridge swap is a common self-inflicted cause.
- Check the seat surface under the diaphragm for grooving, pitting, or mineral buildup. Resurface or replace the valve body if damaged.
- On sensor units, cover the sensor eye and observe. If the drip stops, move to solenoid and sensor diagnostics rather than mechanical parts.
- Measure supply pressure at the stop. Confirm it falls within the 20 to 80 psi operating range and check for hammer or spikes during other fixture use nearby.
- If all of the above check out and the drip persists, the valve body itself is likely worn beyond serviceable tolerance.
When to Escalate to Full Valve Replacement
Replace the entire flushometer, not just the internal kit, when any of the following apply:
- The seat is visibly grooved or pitted and resurfacing isn’t practical or available for that valve body.
- You’ve replaced the internal kit more than once in a service interval and the drip returns within weeks.
- The valve is not ASSE 1037 compliant or is old enough that compliant replacement kits are no longer manufactured for it. ASSE 1037 covers performance requirements for flushometers, including flush volume consistency and leakage limits, and specifying replacement valves to that standard keeps the fixture in line with current code expectations.
- Water usage records show a consumption jump on a specific fixture that correlates with age rather than a documented mechanical fault, which often points to internal wear too gradual to catch by visual inspection alone.
Lifecycle cost favors replacement over repeated partial repairs once you’re past the second internal kit on the same valve. Labor time on repeat service calls, plus the water cost of a slow drip running continuously, typically exceeds the cost difference between another kit and a new valve body within a single budget cycle.
Next Steps for Maintenance Staff
Before ordering another cartridge or diaphragm kit, run the isolation sequence above and note where in the sequence the drip actually stops. Log the failure point, not just “replaced kit,” so repeat failures on the same fixture show a pattern instead of looking like random parts failures. For sensor units, confirm range settings against actual stall or lavatory depth rather than leaving factory defaults, and treat solenoid bleed-through as a distinct failure mode from mechanical diaphragm wear. If pressure at the stop falls outside 20 to 80 psi, address that at the branch line before touching individual fixtures, since correcting supply-side conditions will prevent the same failure from recurring across every flushometer on that run.